本日はマルウェア解析のチュートリアルです。
使うツールはなんとGhidraです。2019年3月5日、NSA(アメリカ国家安全保障局)が、Ghidraを公開してくれました!わーい。
Ghidraのインストール(Mac)
まずはGhidra本体のダウンロードを行います。 上のリンクからダウンロードを押すだけです。そしてフォルダの中身を見てみると次のようになっているかと思います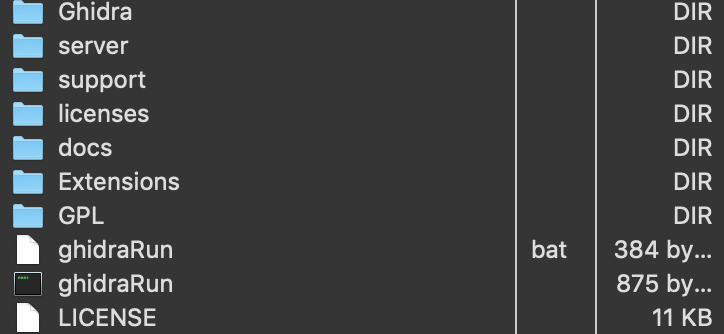
installationGuide.html というものがあるのでそれを読んでみるとJDK11が必要であることがわかります。なのでインストールしていきましょう。
まずは上をダウンロードして
- $ tar xvf ./Downloads/openjdk-11.0.2_osx-x64_bin.tar
- $ vim ~/.bashrc
- export PATH=~/jdk-11.0.2.jdk/bin:$PATH の1行を追加
- $ java –version
- $ /usr/libexec/java_home -V
pkg をダブルクリックでインストールするとjavaがインストールできたはずです!
Ghidraの起動
先ほどダウンロードしたGhidraのフォルダの中にghidraRunという実行ファイルがあるのでダブルクリックすると起動します。(batじゃないよ)またはターミナルで次をタイプします。- $ /Users/username/ghidra_9.0.4/ghidraRun ; exit;
Malware解析の超絶入門
ではマルウェア解析の練習、いや、基礎の基礎、いや、Ghidraの使い方、を学びましょう。 から練習問題をダウンロードします。そしてGhidraを起動し、Newprojectを適当に作ってから先ほどダウンロードしたstring1を解答したもの(exe)をドラッグします。すると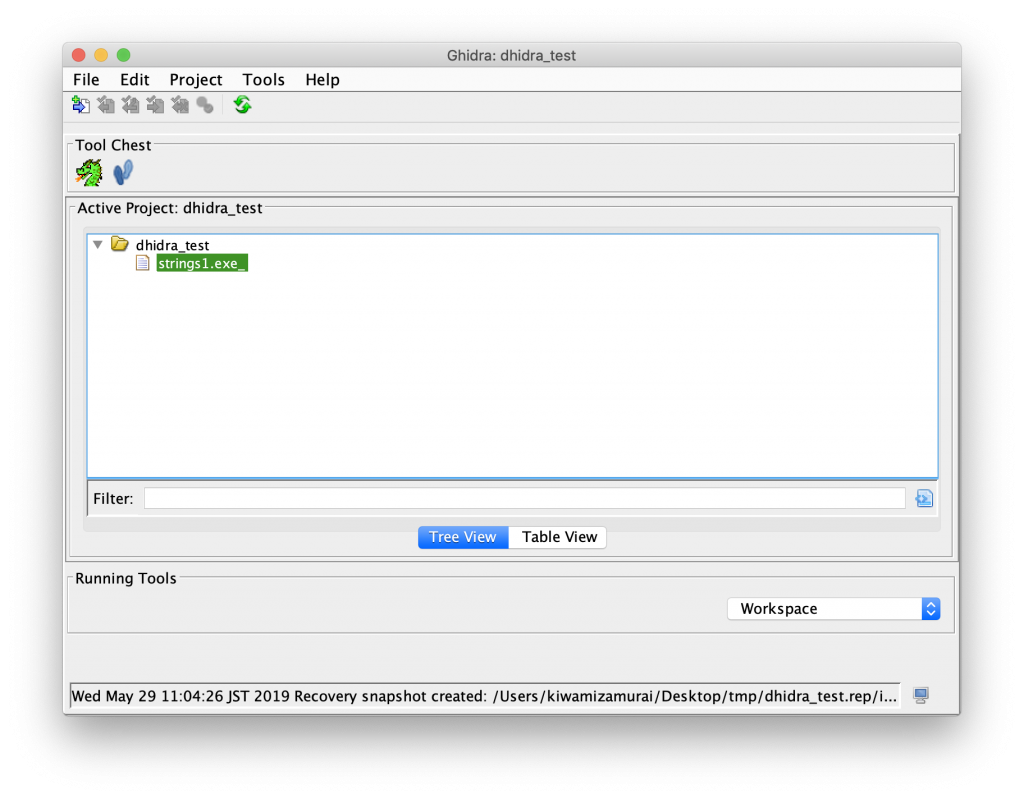
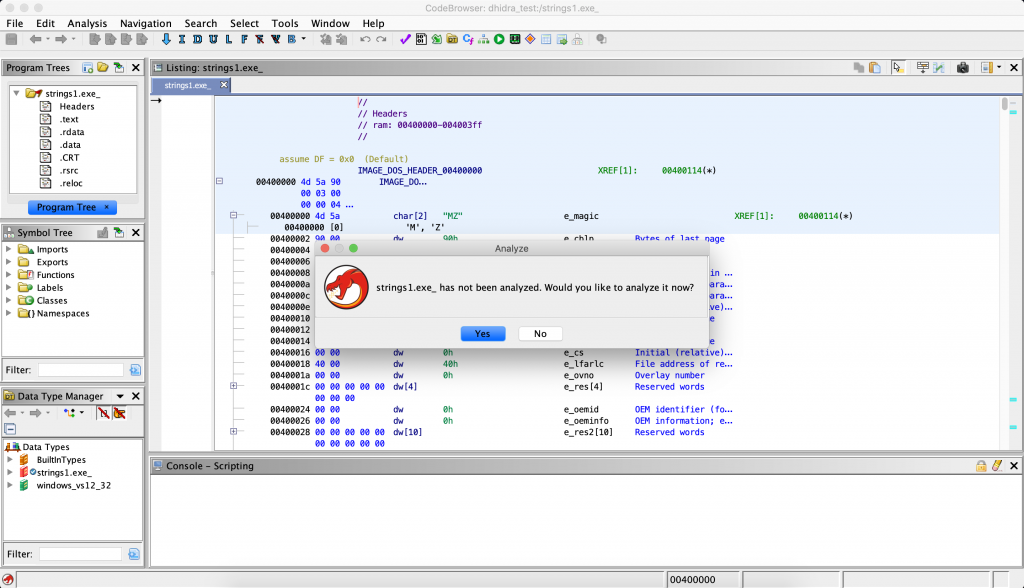
さて、string1をダウンロードしたサイトによればFLAGを見つける問題のようなので探します。CTFですね。
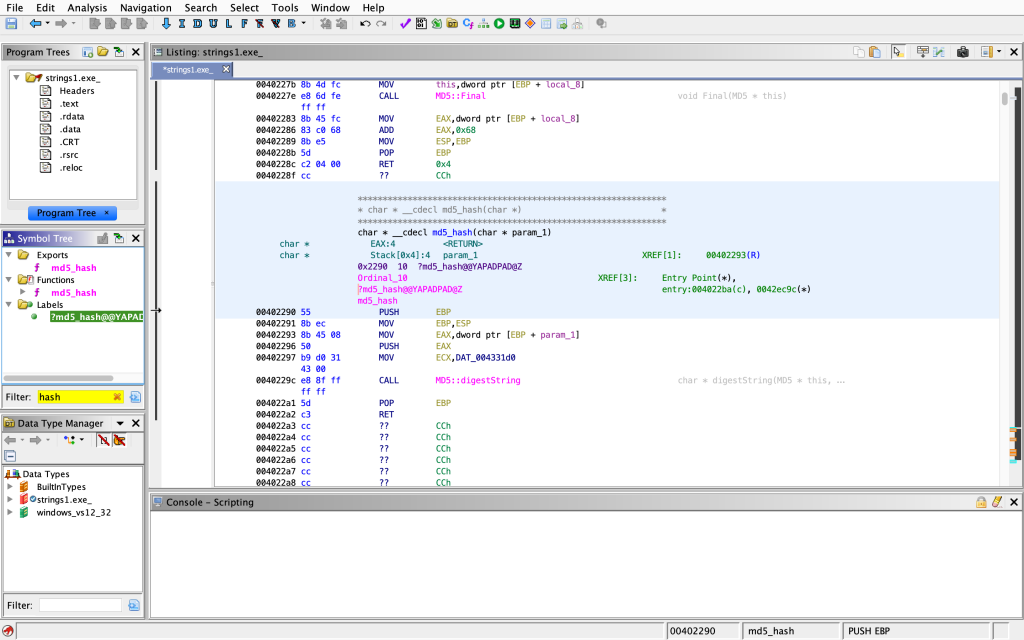
strings1.exe contains an un-encrypted flag stored within the executable. When run, the program will output an MD5 hash of the flag but not the original. Can you extract the flag?なぜか僕の環境ではダブルクリックで開くことができなかったんですがそれはおいておいて、hash化されているようなので左のFilterでhashとフィルタリングします。

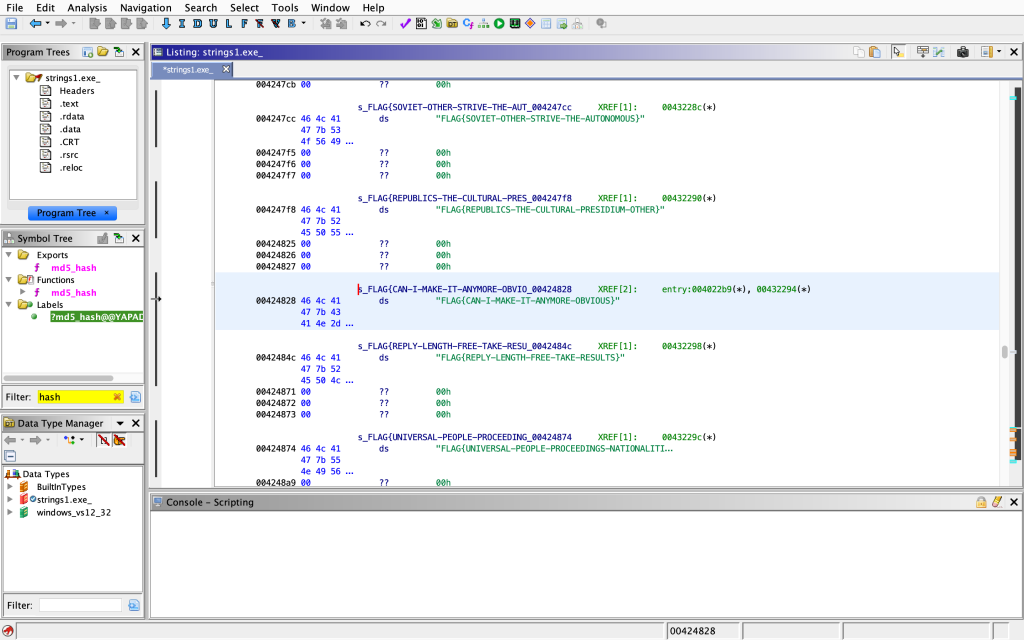
FLAG{CAN-I-MAKE-IT-ANYMORE-OBVIOUS}
をコピペして先ほどのサイトに入力します。
